Table of Contents
The Perfect Start to Your Day: Cheesy Hash Browns
Nothing compares to the irresistible combination of crispy, golden hash browns and the creamy decadence of melted cheese. Whether you’re preparing a hearty breakfast or a savory side dish, cheesy hash browns deliver comfort in every bite. In this comprehensive guide, you’ll learn how to make the perfect cheesy hash browns from scratch, with tips and variations to suit any palate. Get ready to transform a few simple ingredients into a dish that everyone will rave about.
Ingredients for Cheesy Hash Browns
To ensure your hash browns turn out flawless every time, you’ll need the right ingredients. Here’s a quick reference table:
| Ingredient | Quantity | Notes |
|---|---|---|
| Russet potatoes | 4 medium | Peeled and shredded |
| Shredded cheddar cheese | 1 cup | Adjust based on preference |
| Butter or cooking oil | 2 tablespoons | For frying |
| Salt | 1 teaspoon | Add to taste |
| Pepper | 1/2 teaspoon | Optional for seasoning |
| Garlic powder | 1/4 teaspoon | Optional for added flavor |
| Chopped onions | 1/4 cup | Optional, finely diced |
| Sour cream (optional) | 2 tablespoons | For garnish or mixing |
Each ingredient plays a vital role, from the starchy potatoes that crisp up beautifully to the cheese that melts into gooey perfection. Be sure to gather these staples before diving into the cooking process.
Step-by-Step Instructions: Making Cheesy Hash Browns
Creating cheesy hash browns from scratch may seem intimidating, but it’s surprisingly simple. Follow these detailed steps for delicious results every time.
1. Prepare Your Ingredients
- Peel and Grate Potatoes: Start by peeling the potatoes and shredding them using a box grater or food processor. This ensures an even texture.
- Eliminate Extra Moisture: Rinse the shredded potatoes with cold water to remove excess starch. Then, wrap them in a clean kitchen towel and squeeze firmly to eliminate as much moisture as possible. This step is essential for achieving perfectly crispy hash browns.
- Optional Add-ins: If you’re including onions or other ingredients, chop them finely and set aside for mixing later.
2. Mix the Ingredients
- In a large mixing bowl, combine the shredded potatoes, cheddar cheese, salt, pepper, and any additional seasonings, such as garlic powder.
- For a creamy twist, mix in a spoonful of sour cream. This adds a tangy flavor and velvety texture.
- If desired, stir in diced onions or other add-ins to enhance the flavor.
3. Cook the Hash Browns
- Heat the Pan: Place a non-stick skillet over medium heat and add butter or oil. Allow it to heat until shimmering.
- Spread the Mixture: Scoop a portion of the potato mixture into the pan, pressing it down gently with a spatula to form a flat, even layer.
- Cook Until Golden: Let the hash browns cook for 4-5 minutes on one side or until they develop a golden-brown crust. Flip carefully and cook the other side until equally crispy.
4. Serve and Enjoy
- Place the hash browns on a plate lined with paper towels to soak up any excess oil.
- Garnish with fresh herbs, extra cheese, or a dollop of sour cream for an added touch.
- Serve hot and enjoy your perfectly cheesy hash browns!
Variations to Try
Cheesy hash browns are incredibly versatile. Here are a few variations to suit different tastes and occasions:
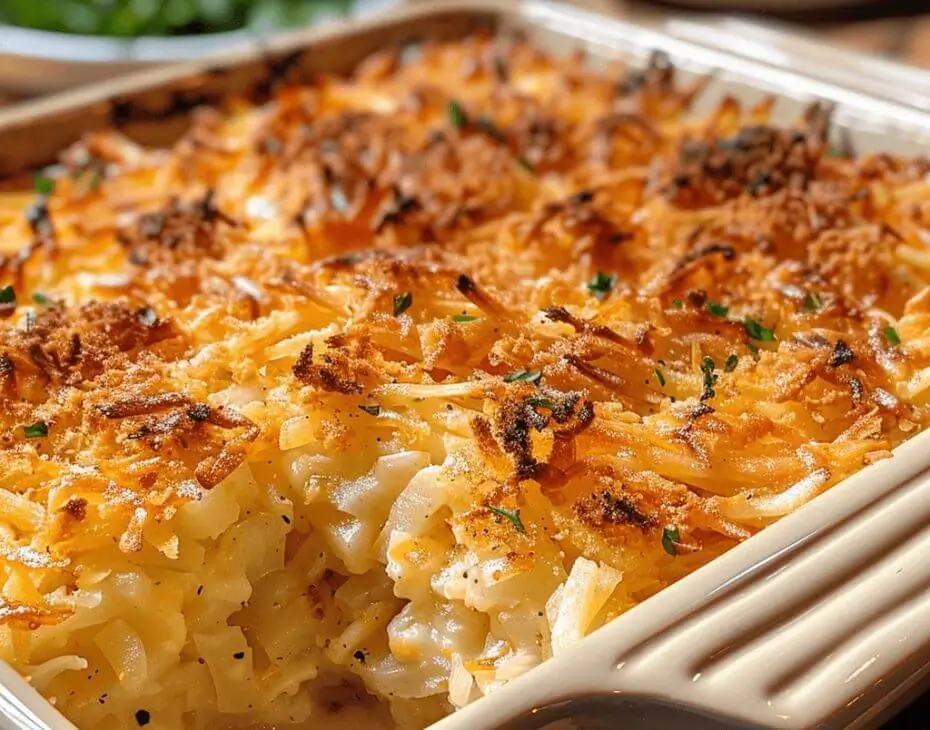
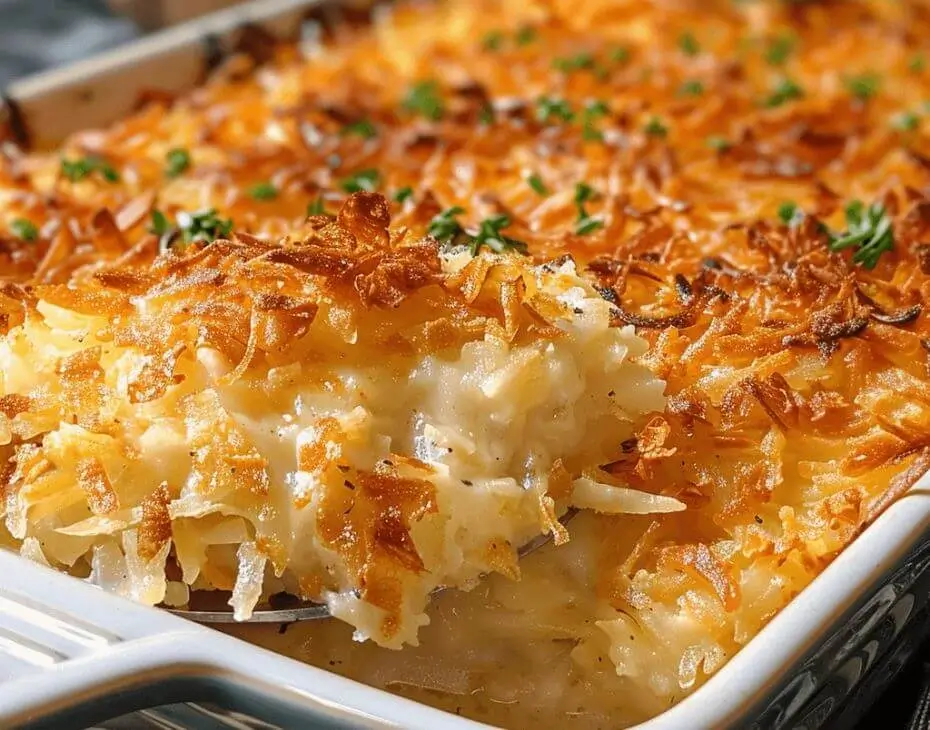
Classic Cheesy Hash Browns Casserole

- Combine the potato mixture with a cup of cream or milk and spread it into a greased baking dish.
- Top with additional cheese and bake at 375°F (190°C) for 20-25 minutes or until bubbly and golden.
Loaded Hash Browns
- Elevate your hash browns with toppings like crispy bacon, green onions, and shredded cheddar.
- Serve with a side of salsa, sour cream, or hot sauce for extra flair.
Vegan Cheesy Hash Browns
- Replace the cheese with a plant-based alternative.
- Use dairy-free butter or oil for frying.
- Add nutritional yeast for a cheesy flavor boost.
Tips for the Best Cheesy Hash Browns
Mastering cheesy hash browns requires attention to detail. Keep these tips in mind for the best results:
- Choose the Right Potatoes: Starchy varieties like Russets yield the crispiest texture.
- Work Quickly: Once grated, potatoes can oxidize and turn brown. To prevent this, immerse them in cold water immediately after shredding.
- Avoid Crowding the Pan: Cooking in batches allows for even browning and prevents steaming.
- Season Generously: Potatoes absorb flavors well, so don’t be shy with your seasonings.
FAQ: Cheesy Hash Browns
Can I freeze cheesy hash browns?
Absolutely! Once cooked, let your hash browns cool completely. Keep them in an airtight container or freezer bag for up to three months. Reheat in a skillet or oven to restore their crispy texture.
What’s the best cheese for hash browns?
Cheddar is a classic choice for its sharp flavor, but mozzarella or pepper jack can add a unique twist. Experiment with your favorite cheeses for different results.
How do I prevent soggy hash browns?
The key is to remove as much moisture as possible from the shredded potatoes before cooking. Squeezing them with a kitchen towel or using a potato ricer works well.
Can I bake instead of fry them?
Yes! Spread the potato mixture onto a parchment-lined baking sheet and bake at 400°F (200°C) until golden and crispy, flipping halfway through.
Are cheesy hash browns gluten-free?
Yes, the basic recipe is naturally gluten-free. Just ensure any additional ingredients, like seasonings or toppings, are also gluten-free.
Conclusion: Bring Comfort to Your Plate
Cheesy hash browns are a dish that never fails to delight. Whether you’re cooking for yourself or feeding a crowd, this recipe offers the perfect balance of crispy texture and creamy indulgence. With easy-to-follow steps, versatile variations, and helpful tips, you’re now equipped to make the best cheesy hash browns at home. So gather your ingredients, fire up the skillet, and treat yourself to a plate of comfort food that’s sure to become a favorite.
Call to Action
Love this recipe? Share it with friends and family, and let us know your favorite variations in the comments below. Don’t forget to bookmark this guide for your next cooking adventure!

