
Cake pops are more than just a sweet treat—they’re an experience. Whether you’ve had them at a birthday party, seen them at a bakery, or simply stumbled upon a cake pop recipe online, there’s something special about these little cakes on sticks. In this guide, we’ll walk you through everything you need to know to make your own perfect cake pops at home. From gathering the right tools to adding the finishing touches, we’ve got you covered. Get ready to impress your friends and family with this fun and delicious treat!
Table of Contents
What Are Cake Pops?
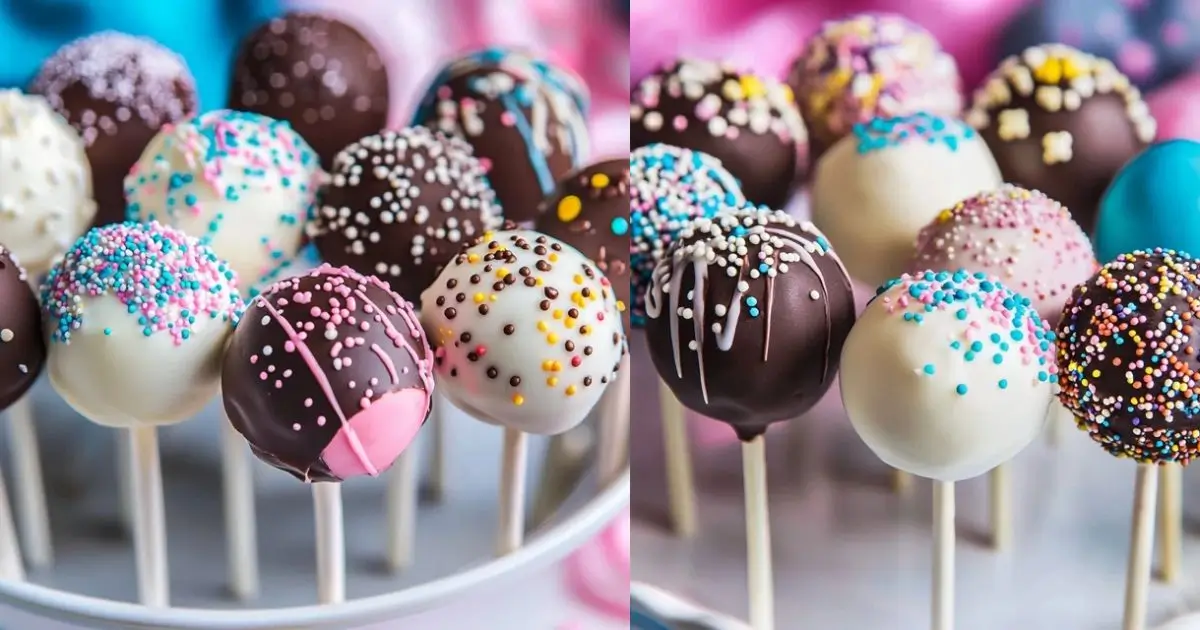
If you’ve never had a cake pop, you might be wondering, what exactly are they? Simply put, cake pops are small, round pieces of cake that are attached to a stick, coated in chocolate or candy melts, and often decorated with sprinkles or other fun toppings. What makes cake pops so special is their versatility. You can choose any flavor of cake, any kind of frosting, and even get creative with the coating.
A Brief History of Cake Pops
Cake pops first gained widespread popularity when baker Angie Dudley began making them and sharing her creations online. They quickly became a trend in the world of baking, known for their fun presentation and bite-sized indulgence. Today, cake pops are a go-to treat for birthdays, weddings, holidays, and any occasion that calls for something sweet and fun.
Essential Tools and Ingredients for Your Cake Pop Recipe
Before diving into the cake pop-making process, let’s gather the essentials. By preparing your tools and ingredients ahead of time, you’ll make the process smoother and more enjoyable.
Essential Tools
- Cake pan or cupcake tin: You’ll need a pan to bake your cake or cupcakes, which will later be crumbled to form your cake pop base.
- Mixing bowls and spoon/spatula: For combining your cake crumbs with frosting and shaping the mixture into balls.
- Lollipop sticks or skewers: These are used to give your cake pops their iconic appearance. You can find these sticks at craft stores or online.
- Styrofoam block or cake pop stand: This is where you’ll let your cake pops dry without them touching anything.
- Microwave-safe bowls: For melting the coating that you’ll dip your cake pops in.
Cake Pop Ingredients
Here’s a quick glance at the ingredients you’ll need for your cake pops. You can also customize these ingredients based on your flavor preferences and creative ideas.
| Ingredient | Amount | Notes |
|---|---|---|
| Cake mix (or homemade) | 1 box or recipe’s worth | Choose your favorite flavor—chocolate, vanilla, or red velvet |
| Frosting | 1 cup | You can use store-bought or homemade frosting |
| Chocolate/Candy melts | 2 cups | Use any color or flavor of candy melts or chocolate for coating |
| Sprinkles (optional) | 1/4 cup | Great for adding festive touches |
Step-by-Step Cake Pop Recipe

Step 1: Bake Your Cake
Start by baking your cake. If you’re using a cake mix, follow the instructions on the box. Alternatively, you can make your cake from scratch using your favorite recipe. You can also use cupcakes instead of a full-sized cake—this might be more convenient if you’re making a smaller batch.
After baking the cake, let it cool completely before proceeding. This step is crucial—don’t try to crumble the cake when it’s still warm, or it will become too mushy to handle.
Step 2: Crumble the Cake
Once your cake has cooled completely, it’s time to break it into small crumbs. Using your hands or a fork, crumble the cake into tiny pieces. The goal is to achieve a fine, even texture that’s easy to bind with frosting. The smaller the crumbs, the better your cake pops will hold together.
Step 3: Add Frosting to Bind
Now it’s time to mix the frosting with your cake crumbs. Add a small amount of frosting—about 1/4 cup to start—and mix it in thoroughly. You want the mixture to feel moist, but not overly sticky. If you’ve added too much frosting, simply crumble more cake into the mixture to balance it out.
The texture should resemble cookie dough. Once you’ve achieved the right consistency, you’re ready to move on.
Step 4: Shape Your Cake Pops
Take small portions of the cake mixture and roll them into balls. Aim for 1 to 1.5 inches in diameter. This size is perfect for a bite-sized treat that’s easy to eat.
After rolling each ball, it’s time to insert the sticks. To help the sticks stay in place, dip the end of the lollipop stick into melted chocolate or candy melts before inserting it into the cake ball. This step will help anchor the stick and prevent it from falling out.
Step 5: Coat with Chocolate or Candy Melts
Once the cake pops are shaped and the sticks are inserted, it’s time to coat them. Melt your chosen chocolate or candy melts in a microwave-safe bowl. Do this in short intervals—30 seconds at a time—to avoid burning the coating.
When the coating is melted, dip each cake pop into the chocolate, ensuring it’s fully covered. Hold the stick and gently tap it against the side of the bowl to remove any excess coating.
Step 6: Decorate and Set
While the coating is still wet, add any sprinkles or decorative toppings. You can also drizzle additional chocolate on top for a creative touch. Once decorated, place the cake pops in a styrofoam block or a cake pop stand to allow them to dry and set. This should take about 30 minutes.
Tips for Perfect Cake Pops
Making cake pops is an art, and a few tips can help you achieve perfect results every time.
1. Choose the Right Flavor
The cake flavor and frosting combination is entirely up to you. While chocolate cake with vanilla frosting is a classic, don’t hesitate to experiment with other flavors like red velvet, lemon, or even carrot cake. The key is to balance the flavor of the cake with the frosting to create a harmonious taste.
2. Keep the Cake Pops Moist
Don’t be stingy with the frosting! The frosting is essential not just for flavor but also for binding the cake together. If the mixture feels too dry, it will crumble and fall apart. If it’s too wet, the coating will slide off. The right amount of frosting will give your cake pops a perfect texture.
3. Use High-Quality Coating
The coating is just as important as the cake itself. High-quality chocolate or candy melts will give your cake pops a smooth, glossy finish. Choose your coating based on the event or your personal preference—milk chocolate, white chocolate, or even colorful candy melts are all great options.
Creative Cake Pop Decorating Ideas
The fun doesn’t stop with just baking and coating. Cake pops offer a fantastic canvas for creativity. Here are some decorating ideas to make your cake pops even more exciting:
1. Themed Cake Pops
Cake pops are ideal for themed parties. Whether it’s a birthday, holiday, or special event, you can customize the look of your cake pops to match the theme. For Halloween, go for orange and black coatings with spooky decorations; for Valentine’s Day, try pink and red with heart-shaped sprinkles.
2. Personalized Cake Pops
Want to add a personal touch? Decorate your cake pops with names, initials, or messages. Use edible markers, frosting, or even tiny fondant cut-outs to create personalized designs.
3. Seasonal Variations
Cake pops are perfect for all seasons. Make Christmas-themed pops with red, green, and white coatings and festive decorations. For summer, go for bright colors and tropical-themed toppers like little paper umbrellas or edible flowers.
Troubleshooting Common Cake Pop Problems
Even experienced bakers face challenges when making cake pops. Here are a few common problems you may encounter and how to resolve them.
1. Cracking Coating
If your coating cracks, it’s likely because the cake pops were too warm when dipped, or the coating was too hot. Always ensure your cake pops are completely cooled before dipping, and allow your coating to cool slightly before using it.
2. Cake Pops Falling Off the Stick
If the cake pops keep falling off the stick, try dipping the stick in the coating before inserting it into the cake ball. This will help anchor the stick securely in place.
Conclusion: Create the Perfect Cake Pops Today!
Cake pops are a fun, delicious way to get creative in the kitchen. Whether you’re making them for a special event, a holiday, or just because, the process is simple, and the results are always impressive. By following this cake pop recipe and using the tips and tricks we’ve shared, you’ll be able to create beautiful, bite-sized cakes that are sure to delight anyone who tries them. So what are you waiting for? Grab your ingredients, start baking, and enjoy the sweet success of homemade cake pops!
Frequently Asked Questions (FAQ)
Can I make cake pops ahead of time?
Absolutely! Cake pops can be made in advance and stored in an airtight container for up to 5 days at room temperature. If you need to store them for longer, you can freeze them and thaw them before serving.
Can I use different coatings for my cake pops?
Yes, you can! While chocolate and candy melts are the most common options, you can use other coatings like royal icing, caramel, or even a mix of different colored melts for a fun, multicolored effect.
Why did my cake pops crack?
Cracking usually happens if the coating was applied when the cake pops were too warm or the coating was overheated. Let your cake pops cool completely before dipping, and ensure the coating isn’t too hot when you use it.
How do I make cake pops without a cake mix?
You can use any homemade cake recipe you like, such as a classic vanilla or chocolate cake. Simply bake the cake, crumble it, and mix it with frosting before rolling it into cake pop-sized balls.
Ready to create your own cake pops? Grab your ingredients, get creative with your decorations, and enjoy every step of the process. Happy baking!
Leave a Comment
Your email address will not be published. Required fields are marked (required)
Tried this recipe? Share your rating!
There are no reviews yet. Be the first one to write one.