
There’s something irresistibly satisfying about the combination of creamy cheesecake and warm, cinnamon-sugar churros. If you’ve ever dreamed of combining both treats, then churro cheesecake is about to become your new favorite dessert. Imagine a rich, creamy cheesecake with a crunchy cinnamon-sugar topping—this dessert is bound to impress your friends and family. In this guide, we’ll walk you through every step of making the perfect churro cheesecake from scratch.
By the end of this article, you’ll have all the knowledge you need to create a dessert that balances the smooth, velvety texture of cheesecake with the sweet, crunchy goodness of churros.
Table of Contents
- What Is Churro Cheesecake?
- Ingredients for Churro Cheesecake
- Step-by-Step Instructions for Making Churro Cheesecake
- Churro Cheesecake Tips and Tricks
- How to Store Churro Cheesecake
- Frequently Asked Questions (FAQ)
- Conclusion
What Is Churro Cheesecake?
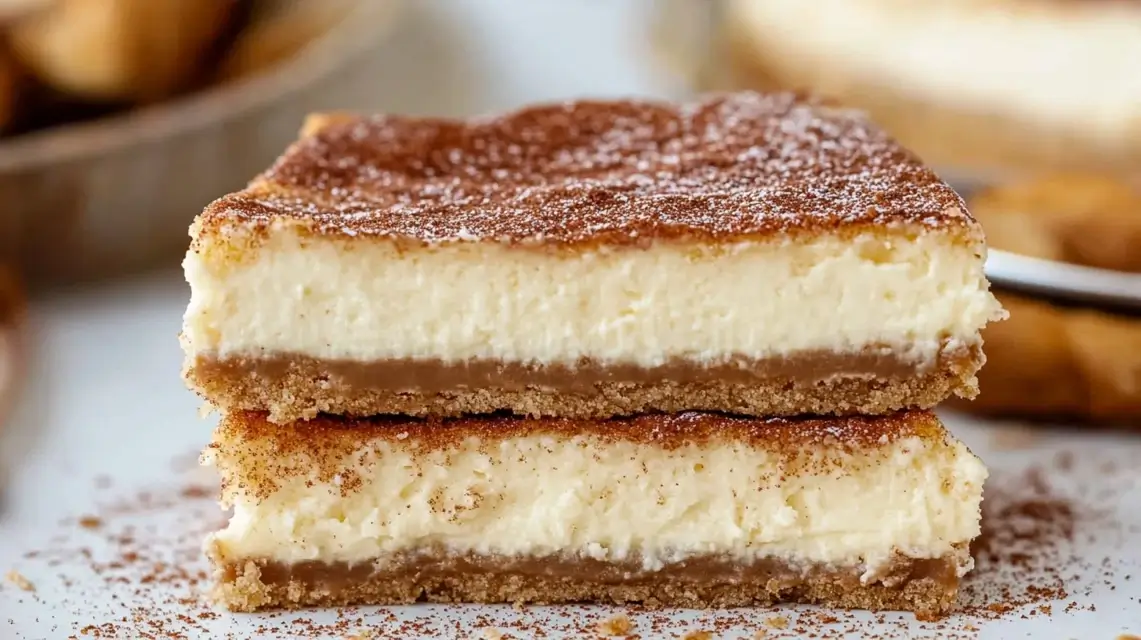
Churro cheesecake is a delightful twist on two beloved desserts. Combining the classic creamy richness of cheesecake with the cinnamon-sugar crunch of churros, this dessert offers the best of both worlds. The cheesecake itself is dense, smooth, and velvety, while the churro topping adds a crunchy, cinnamon-sweet finish that reminds you of your favorite fair or bakery treat.
Whether you’re preparing it for a party, special occasion, or just a personal indulgence, churro cheesecake brings an irresistible combination of flavors and textures that will leave everyone wanting more. This dessert is more than just a treat; it’s an experience that delivers comfort and joy with every bite.
Ingredients for Churro Cheesecake
Before you get started on your churro cheesecake, it’s essential to gather the right ingredients. Here’s what you’ll need to make this scrumptious dessert:
| Ingredient | Amount | Purpose |
|---|---|---|
| Graham cracker crumbs | 1 1/2 cups | For the crust |
| Sugar | 1/4 cup + 1 tbsp | Sweetener for crust and topping |
| Cinnamon | 1 tsp + 1 tbsp | For crust and topping |
| Unsalted butter | 1/2 cup (melted) | For crust and topping |
| Cream cheese | 3 (8 oz) packages | Main cheesecake base |
| Vanilla extract | 1 tsp | For flavor |
| Eggs | 3 large | To set the cheesecake |
| Sour cream | 1 cup | Adds creaminess |
| Heavy cream | 1/4 cup | For smooth texture |
These ingredients come together to create the ideal balance of flavors and textures—smooth, tangy cheesecake with a touch of cinnamon in the crust and topping.
Step-by-Step Instructions for Making Churro Cheesecake
Making churro cheesecake from scratch is easier than you might think! Follow these detailed steps to ensure you get a cheesecake that’s both creamy and flavorful.
Prepare the Crust
The crust is the foundation of any cheesecake, and this one is no exception. It’s simple to make, but it adds essential flavor and texture.
- Combine the Ingredients: Start by mixing the graham cracker crumbs, sugar, cinnamon, and melted butter in a medium-sized bowl. Make sure the mixture is well combined, with the crumbs evenly coated in butter.
- Press the Mixture into the Pan: Lightly grease your springform pan to ensure easy removal. Press the graham cracker mixture into the bottom of the pan, creating an even, compact layer. Make sure to press the mixture firmly so it holds together once baked.
- Bake the Crust: Place the pan in a preheated oven at 325°F (163°C) and bake the crust for 8-10 minutes. You want the edges to be golden and the crust to feel set. After it’s finished, remove it from the oven and let it cool.
Make the Cheesecake Filling
Now that the crust is ready, it’s time to make the creamy cheesecake filling. This part is where all the magic happens!
- Beat the Cream Cheese: In a large bowl, beat the softened cream cheese with the sugar and vanilla extract until the mixture is smooth and free of lumps.
- Add the Eggs: Add the eggs one by one, making sure to fully mix each one in before adding the next. This ensures a smooth, lump-free filling.
- Add Sour Cream and Heavy Cream: After the eggs are fully mixed in, add the sour cream and heavy cream. Continue mixing until the batter is completely smooth. The sour cream adds a touch of tanginess, while the heavy cream ensures the cheesecake is rich and creamy.
Assemble the Cheesecake
With your crust and filling ready, it’s time to assemble the cheesecake.
- Pour the Filling Over the Crust: Carefully pour the cheesecake filling over the cooled crust. Use a spatula to spread the filling evenly and create a smooth surface on top.
- Bake the Cheesecake: Bake the cheesecake at 325°F (163°C) for 50-60 minutes. You want the center to be mostly set, with a slight jiggle when you gently shake the pan. Don’t worry if the center is a bit wobbly—it will firm up as it cools.
- Cool the Cheesecake: Once the cheesecake is done, turn off the oven and let it cool in the oven for an hour. After that, allow it to cool completely at room temperature. Once cooled, place it in the refrigerator to chill for at least 4 hours or overnight.
Churro Cheesecake Tips and Tricks
To ensure your churro cheesecake turns out perfect, here are a few expert tips and tricks to help you along the way:
- Room Temperature Ingredients: Before you begin, make sure your cream cheese and eggs are at room temperature. This will ensure a smooth, lump-free cheesecake filling.
- Avoid Cracks: To prevent cracks in your cheesecake, avoid opening the oven door during baking. Fluctuations in temperature can cause the cheesecake to crack. If cracks do form, don’t worry—they won’t affect the flavor!
- Customize the Topping: While the cinnamon-sugar topping is a must, feel free to get creative. You could drizzle caramel sauce over the top or add whipped cream for extra decadence.
How to Store Churro Cheesecake
Once your churro cheesecake is baked and chilled, you’ll want to store it properly to maintain its freshness.
- Refrigeration: You can store your churro cheesecake in the fridge for up to 5 days. Be sure to cover it with plastic wrap or foil to prevent it from drying out.
- Freezing: If you want to keep the cheesecake for a longer period, you can freeze it. Wrap it tightly in plastic wrap and foil to prevent freezer burn. It will stay fresh for up to 2 months. When you’re ready to serve, simply thaw the cheesecake in the refrigerator overnight.
Frequently Asked Questions (FAQ)
Q1: Can I use a store-bought crust for churro cheesecake?
Yes, you can. If you’re short on time, a store-bought graham cracker crust is a convenient option. However, making your own crust will add a fresh, homemade touch.
Q2: How do I know when my churro cheesecake is fully baked?
The cheesecake should have a slightly wobbly center when done. You can test it by gently shaking the pan. If the edges are set but the center is still slightly jiggly, it’s ready to come out of the oven.
Q3: Can I make churro cheesecake ahead of time?
Absolutely! Churro cheesecake needs to chill in the fridge for several hours or overnight, making it an ideal dessert to prepare ahead of time. In fact, it’s best when made the day before serving!
Q4: How can I make the churro cheesecake gluten-free?
To make the churro cheesecake gluten-free, simply use gluten-free graham cracker crumbs for the crust. Double-check that all other ingredients are also gluten-free.
Conclusion
Churro cheesecake is the perfect dessert for anyone who loves the rich, creamy texture of cheesecake and the sweet, spicy crunch of churros. By following the steps outlined in this guide, you’ll be able to create a dessert that’s not only visually stunning but also absolutely delicious. Whether you’re celebrating a special occasion or treating yourself to a sweet indulgence, churro cheesecake will undoubtedly become a favorite in your dessert repertoire.
So, are you ready to dive into making churro cheesecake? Gather your ingredients, follow the steps, and enjoy a dessert that’s sure to wow everyone who tries it. Happy baking!
Leave a Comment
Your email address will not be published. Required fields are marked (required)
Tried this recipe? Share your rating!
There are no reviews yet. Be the first one to write one.